Setting Database to read-only
To set a database to read-only using MySQL Workbench's SQL Editor, you can follow these steps:
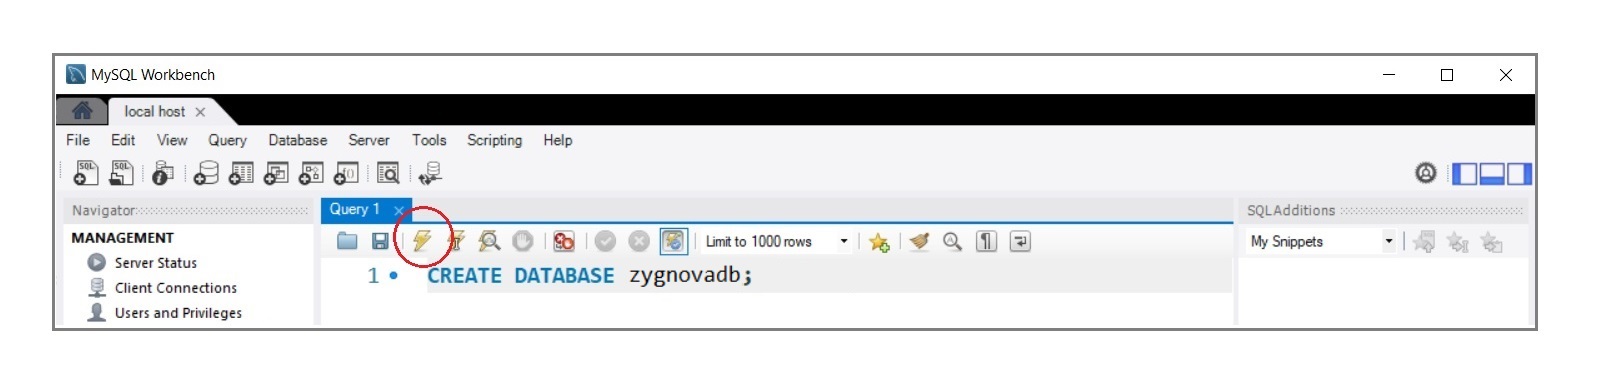
1. Launch MySQL Workbench and establish a connection to your MySQL server.
2. In MySQL Workbench, navigate to the SQL Editor by clicking on the "SQL" icon on the top toolbar or selecting "SQL Editor" from the "Database" menu.
3. Ensure that the correct database is selected. You can use the following command to switch to the database you want to set to read-only:
USE zygnovadb;
4. Once you have selected the database, execute the following command to set it to read-only:
SET GLOBAL read_only = ON;
5. This command sets the global read-only variable to ON, making the entire database read-only. Note that this affects all sessions and users accessing the database.
6. To execute the command, either click the "Execute" button in the SQL Editor toolbar or press Ctrl+Enter.
7. The SQL Editor will display the output indicating the success or failure of the SET command.
8. Verify that the database is set to read-only by attempting to perform any write operations (e.g., INSERT, UPDATE, DELETE) on the database. These operations should now be denied.
Please note that setting a database to read-only affects all users and sessions connected to the MySQL server. It is a global setting that restricts write operations on the specified database. If you need to allow write operations again, you can execute the following command to turn off the read-only mode:
SET GLOBAL read_only = OFF;
Again, exercise caution when using these commands, as they can have significant implications on your database operations.